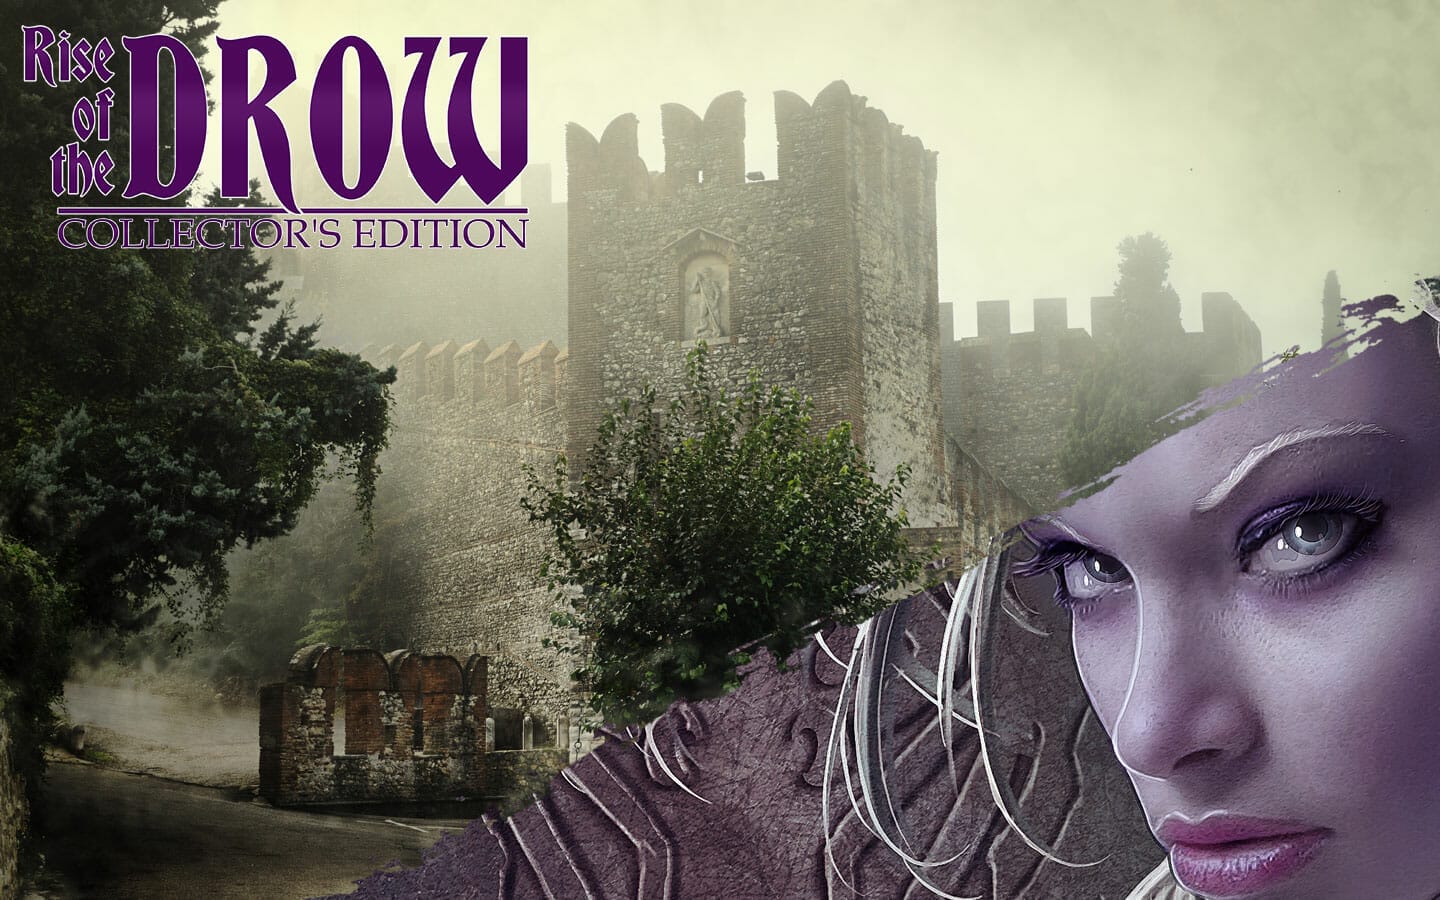
Rise of the Drow GM Tips

Rise of the Drow GM Tips and Advice: Adrik’s Folly

Our second-most requested section of Rise of the Drow for more detail is the first half of the final chapter of the prologue: Adrik’s Folly. After the harrowing trek through the Dark Wood, the party is finally assuming some control over their fate as they discover the drow stronghold and decide how best to free the Rybalkan prisoners. This vast castle is almost 115,000 square feet over several floors with a LOT to take into account when running this adventure. Here, then, are some Rise of the Drow GM tips and reminders for running Adrik’s Folly.

Getting Organized: However the characters get to see Adrik’s Folly for the first time, they should realize there is more going on than they first imagined. Watching the place for a few hours will reveal some general “comings and goings” of the Vikmordere during the day, while anyone close enough to observe what happens at sunset will see the drow appear in the watchtowers as lights disappear and the Folly takes on a more ghostly aspect. A character who scouts the fort for a few days easily surmises that there are set routines that stick to specific times; guards who deviate from the routine are severely reprimanded. 

Spending time scouting the area around the Folly, especially in the areas not used by the drow or Vikmordere, will afford the party an opportunity to investigate the chapel of Flaesuros. The surrounding woodland isn’t thick enough to hide the chapel from the view atop the castle’s battlements—even at a distance of a quarter mile— But a cautious party could use it as a base or hideout for a short time. The chapel is large enough to accommodate perhaps twenty people without drawing too much attention, as long as they remember to keep light sources covered and keep out of sight. 

The word of recall scroll is perhaps the most valuable reward for the time the party spends on preparing for any attempt to enter the Folly. It is a literal “get out of jail free” card if the characters can keep it hidden and need to leave in a hurry.

Getting In: It should be clear that an open assault on Adrik’s folly is, well, folly! Depending on the number of members, the party has a range of options it can pursue and may use more than one in order to investigate the castle before attempting to get the prisoners out of the place.  

What then are the more obvious choices to get into the Folly?  

  • Secret Tunnel. The tunnel from the chapel. 
  • Disguise. As either Vikmordere or drow. After a successful ambush of a patrol, the party could use the captured equipment to construct a convincing disguise. Remember, in general it will be much harder for a Vikmordere disguise to fool a Vikmordere mercenary than it would be a drow guard, and the same is true of a drow disguise fooling a drow guard. 
  • Persuasion. With a Vikmordere patrol, either as new recruits or as prisoners. Maybe both, if the bluff can be carried through. 
  • Stealth. With magic such as invisibility, silence, and disguise self, a party could easily gain entry to the castle, but without a solid plan they will find it difficult to remain hidden for long. Reward creative use of spells that could conceivably provide benefits to stealth, such as gust of wind or fog cloud. 
  • Sow Dissent. The party may employ a more complex tactic wherein they turn the drow and Vikmordere against each other, should they become aware of the natural animosity the two factions have for each other. While the drow commonly employ tactics that sees their hired mercenaries taking the brunt of any assault, they are unused to working directly with such fodder. For their part, the Vikmordere avoid the drow as much as possible, trusting them only as long as the alliance is endorsed by their leader, Erik Splitaxe. 

Getting On With It: The party needs to strike a careful balance between speed and efficiency. There is more than one potential outcome when in the castle, and the players may have to adapt their plan to include new strategies as they gain more information. 

Rescuing the prisoners is the true goal for the party, and one that becomes more demanding as the days go by. Initially there are 50 prisoners, and this number goes up by ten per day, meaning there will be 130 demoralized inmates if the players wait until the escort duty arrives from the Underworld – not an advisable option! At the same time, finding ways to exacerbate the instability between the drow and Vikmordere is close to essential is the party is to escape with every deserving local, while finding out the drow’s current methods of operation, plans and orders for the future, and news from the Underworld in general is also an extremely valuable outcome. 

There are other tasks the party could undertake, but they are secondary to the list above, even if they are broadly useful. Setting the undead to rest is worthy of reward but may be too time-and-resource consuming unless the escape tunnel is going to be used. Placing boobytraps for the current drow or the soon-to-arrive escorts is also something to be considered, but the likelihood of these succeeding is generally low. Razing the Folly to the ground with fire will certainly be something some players will consider and/or desire to undertake, but they need to beware of cutting off their own escape routes. Finding some way to make it seem that the locals are tougher than they appear and ought to be left alone will gain Rybalka some time to shore up its defenses and bring remote trappers and loggers into safer grounds. Of course, it’s entirely likely that the fate of the Moonshard is yet unknown to the party, and here is where you can impart that information with overheard conversation or braggartly confession. 

Finally, recruiting Erik Splitaxe to their cause might also cross the players’ minds. The effectiveness of this tactic is driven by his state of mind, which changes as the eight days go by. Try too early, and the gold and promises he’s been given still holds his loyalty. Leave it too long and he believes EVERYTHING is a trap only his ax can deal with! Somewhere in between these points, a GM might decide he can be swayed and convinced to provide a distraction. In this case, turning him “early” means he will only cause mayhem and confusion, so that he still has the option of betraying the party if events don’t go to plan. Convincing him “too late” and he will become a loose cannon, with his troops potentially hindering the party as they exact revenge. Either way, the party finds itself treading a fine line if it chooses this ploy. 

Adrik’s Folly is big enough for an organized and cautious group to lurk in successfully, although as with entering the castle, larger groups, even of four people, look out of place if the members don’t seem to fit any of the expected roles, i.e., drow, drow workers, Splitaxe’s mercenaries, or local prisoners. However, the longer the party takes to achieve its aims and objectives, the more likely it is that between them the current inhabitants will put two and two together to conclude the characters are interlopers. As said, the balance between speed and efficiency is vital! 

Getting Out: Freeing the prisoners should be the party’s main goal. But just in case it isn’t, remember that not doing so has a significant impact on future events in that if nothing else, Miah is one of the prisoners. Without him, the party is less able to move through the Underworld and Embla. Similarly, without Kivan and Alexandria’s help, Acts 2 and 3 are at best more difficult and at worst close to impossible.  

Leaving the castle will probably be by the secret tunnel as mentioned above, but it could also be through the main gate if enough confusion reigns, through another hole in the wall if one can be created, or possibly “over the wall” if escape is made, for example, from the second-floor guest quarters or royal suite. Whatever route is taken, the party will need to provide protection for anywhere between 47 (Miah and Kivan can help fight, while Trax isn’t really a prisoner) and 127 people. As GM, you may decide that a few more of the escapees can fight or become “team leaders”, perhaps encouraging half-a-dozen older locals to keep moving while the party does most of the work. Unless the players have found a way to assign these roles earlier, decisions will have to be made in the moment, which may lead to mistakes and their consequences. However, setting up some form of hierarchy or chain of command makes the escape that much more straightforward, not least if those most affected by and fearful of potential slavery can rely on someone they know and trust, while something unexpected like a bard choosing to inspire their Charisma bonus-worth of stout-hearted locals to be “team leaders” (and scaring Trax into revealing himself at the same time) could make all the difference 

Fleeing successfully will almost certainly rely on the players having made plans for a variety of events as well as having resources available soon after leaving the castle, probably at the chapel even if the tunnel isn’t used. If it is used, this is where the word of recall scroll might be used, for example if two or three characters make a stand in the secret tunnel and hold off the drow and/or Vikmordere while the bulk of the escapees disappear (however that is done – the tunnel stand could be a decoy) and then at the last moment disappear to the chancel and freedom. Perhaps splitting the party is the way to succeed, possibly fleeing initially in different directions but rendezvousing at an agreed point. If players come up with what seem like weird and wonderful ways of bamboozling the captors and are brave enough to work in pairs or even singly(!), reward their ingenuity with the odd advantage roll or “story bonus”! 

Getting Away: Leading all the escapees to the cover of the wooded slopes on the route to the Galekin Estate is no easy task. Unless the drow and Vikmordere are in complete chaos or at each other’s throats, Thizasta and Erik soon bring the situation under control and begin a search both within and outside the castle. Getting away with the greatest number of locals relies on further confusion, organized speed, and clear instructions. 

However, the more folks that have been rescued, the harder it is to both have all three of these in place individually and ensure they are working in combination. Confusion designed to delay the drow and Vikmordere may lead to reduced understanding of instructions, which then leads to further confusion. Unclear instructions will either find different groups doing different things at different times or will lead to arguing within larger groups that slow progress. Too much haste will lead to large groups becoming strung out as weaker members fail to keep up the pace and characters expend energy moving up and down the line rapidly to maintain morale and progress. An earlier-established hierarchy will help here if the party members know they can rely on certain individuals to keep tiring people going or restate plans clearly and concisely. Executing plans such as these avoid confusion and, again, help with progress greatly. 

And while making progress is vital, knowing when to stop and for how long is also important. The characters will have abilities that need a “short rest” to renew them, while the poorly-looked after former prisoners won’t be able to keep up a demanding pace. But then taking too many rest breaks will allow the former captors to catch up and attack the escapees – by this time they have no compunction about attacking people randomly in an effort to kill the party – as well as potentially lessening the sense of urgency required to help everyone get by on adrenaline and “nervous energy” for at least the first day or so of the escape. Once again, the players need to use all their creativity to give the characters the best chance of succeeding and the escapees the greatest likelihood of living! 

In Conclusion: While the events around Adrik’s Folly may appear initially to be a “straight line” prison break out, there is much more going on as has been considered here. Once again, the players may look at the situation and wonder how relatively low-level characters can possibly succeed when so much is at stake against such a large force. But the already festering mistrust and dislike between the drow and their mercenaries coupled with the need for a routine to keep a lid on confusion and deliberate “misunderstandings” give the party a lot of room in which to maneuver if it “thinks big but acts small.” Creativity and planning—both for what players intend to happen as well as what might unexpectedly occur—leaves them in a strong position. Neither the drow nor the Vikmordere are particularly flexible when the party encounters them; the element of surprise is on the players’ side and they should make full use of it! Remember to reward exciting and innovative play by telling a great story. As is always the case with Rise of the Drow, excitement and adventure are at the heart of those dice rolls. 

Let us know in the comments or on our Discord from which other sections of Rise of the Drow Collector’s Edition you want to see more GM tips and advice. Enjoy!

1 thought on “Rise of the Drow GM Tips and Advice: Adrik’s Folly”

  1. What a well timed post! I am running the Adrik’s Folly section for my characters this evening. This is the part of Rise of the Drow that got me really excited for my players as the opportunities for mayhem and lots of role play are endless. The need for caution is definitely important and any murder hobos will perish quickly. Thanks for laying out all of the options so eloquently!

Leave a Comment

Your email address will not be published. Required fields are marked *

This site uses Akismet to reduce spam. Learn how your comment data is processed.

Shopping Cart
Scroll to Top
×